Creating And Uploading Mods
How to create a basic folder to contain your modded files.
How to upload your mod to the Steam Workshop / mod.io.
How to edit files to change the game.
How to make a specific mod.
This tutorial explains how to create a basic folder setup which is recognized by the game as a mod and into which modded files can be placed, as well as how to upload a mod to the Steam Workshop / mod.io. This mod will not actually do anything by itself, this tutorial simply demonstrates how to create the foundation on which a mod is then built.
Create a Mod Folder
Start up Space Engineers and go to Load Game, select any savegame and then go to Edit Settings > Mods. Your mod folder will now appear in the left-hand list.
You can now add it to your mod list like you would any other mod.
Upload Your Mod
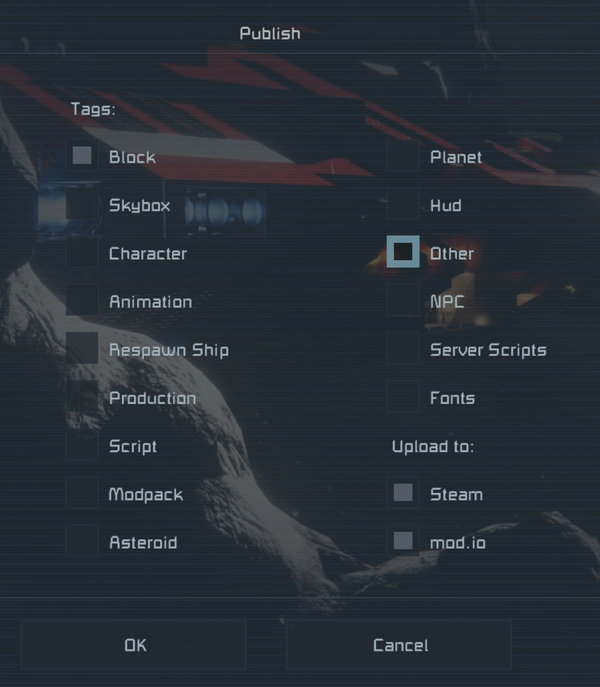
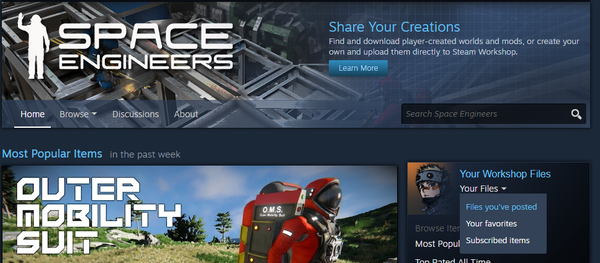
On your mod’s workshop page, you have various options to customize it. Be sure to include a clear overview over what your mod does at the top and some good images showing your changes. Also a link to the mod.io version if applicable.
There are Visibility options for your mod:
- Public - everyone will be able to see your mod on the Workshop.
- Friends-only - only your friends will be able to use the mod. Dedicated servers have no login, therefore they have no friends.
- Hidden - only usable and visible by you or Steam Workshop moderators. Anyone else trying to use it (either joining a server, loading a world that has it, etc) would get failure to download the mod.
- Unlisted - same as public except it does not show up on the workshop or your profile. This works on servers too but also means the page can be accessed through the server info window.
If anything but public is chosen, a yellow banner is shown at the top but only for you, other people won't know the visibility status of the mod, up to you if you wish to inform them through the description.
Also you should subscribe to your discussions page ("Discussions" tab then "Subscribe to forum" on the right) otherwise you won't be notified when someone posts there.Updating your mod is simple, though somewhat unintuitive: Simply make the changes in your mod folder and then start up the game, go to the mod list and hit Publish on your mod again, as if you were uploading it for the first time. It will then update the existing, already uploaded, mod and you will be asked to confirm overriding the existing, published, mod.

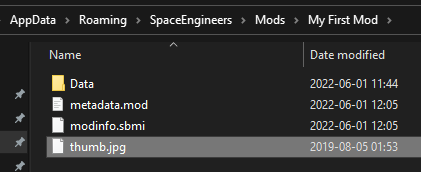
There is unfortunately no way to upload a thumbnail for your mod through the Steam Workshop interface. You have to instead place the thumbnail in your mod folder named as thumb.jpg:
thumb.jpg is no larger than 1MB in size, else publishing / updating the mod may fail.


